Status Update Templates allow you to design templates that help you send out recurring project-related updates to your team members.
You can keep track of the tasks, milestones, and approvals that have been going on in the project by getting updated at regular time intervals.
Here is how you can get started with creating and automating your own status update templates.
Creating a Project Update Template
- Go to Templates > Update Templates. Click New Project update template.

- The new status update template has a pre-designed format that helps you summarize project updates. You can directly insert the project summary section or edit it to your preference.

- You can add a title and edit the summary accordingly.

- From the Highlights tab, you can drag and drop sections into the document.
Here, the updates are about upcoming tasks for the next week, so from the tasks section, choose Upcoming and one week.
- You can drag and drop the tasks section into the document.

Auto publish your Project updates
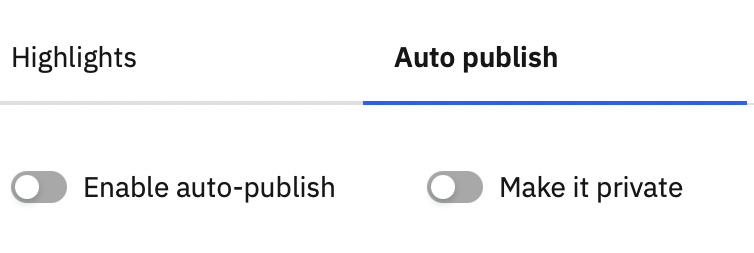
- Enable auto-publish: This feature allows you to automatically publish status updates according to the preferences you have set.
- Make it private: Selecting this will make you publish the updates privately.
Projects
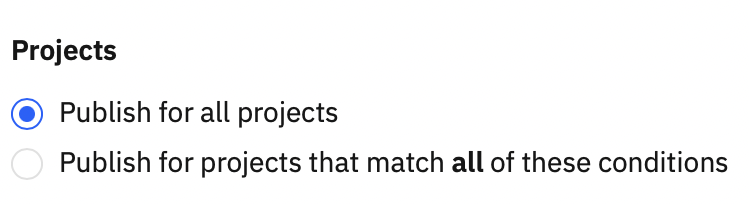
- Publish for all projects: The status updates will be published for all the projects using this template.
- Publish for projects that match all of these conditions: Helps you streamline the projects you want the updates to go out for.
- Once you select this option, click Add conditions.

- In the Add conditions dialog box, select all or any from the Matches section. This will determine which conditions need to be matched to roll out the status updates.
- Set conditions in the Where section and click Done.

Schedule
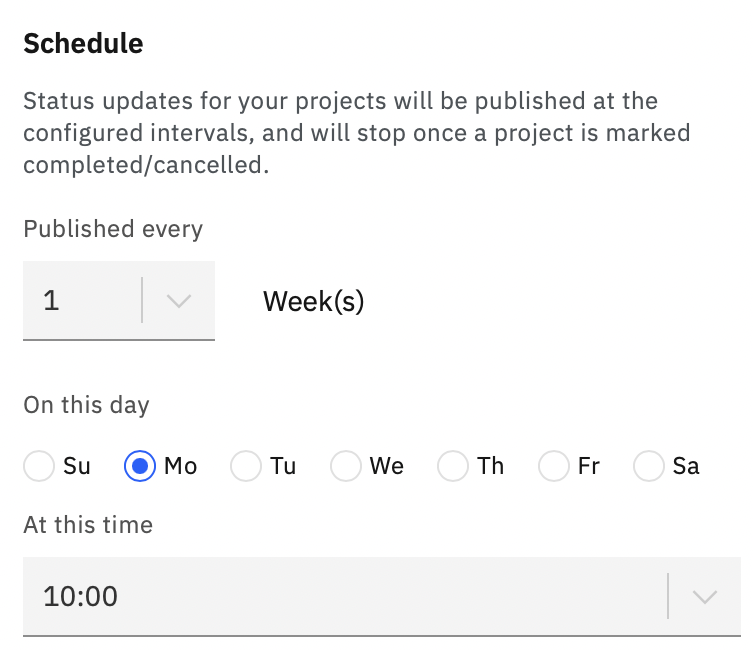
This section allows you to schedule status updates for your projects. These updates will stop being published once a project has been marked completed or cancelled.
You can select the frequency in weeks, the day of the week, and the time of publishing for the status update template.
Click Save from the top-right corner of the screen once you have made the edits.