In this article
The project fields in Rocketlane are attributes that help define a project. There are some default fields, and you can add custom fields to your account as well.
Project fields can be populated while creating a new project. You can later view them in the Project Overview section according to the order defined on the Project Fields page.
How to access the Project Fields in Your Rocketlane Account
- Go to Settings.

- Go to Project fields.

- You will see a list of all the default and custom project fields added to your account.
You can view the field type and whether each field has been enabled. Enabling a field determines whether the project field can be viewed in your projects.
How to create a New Project Field Section in Your Rocketlane Account
Project fields are divided into sections for easier categorisation. You can create your own custom section to add project fields related to your organization's needs.
- Click New Section from the top-right side of the screen.

- Add a name for the new section and click the green checkbox button to save the section.

- A new section will be added for the project fields. You can add new fields to this section. This list displays the field description, field type, and status.
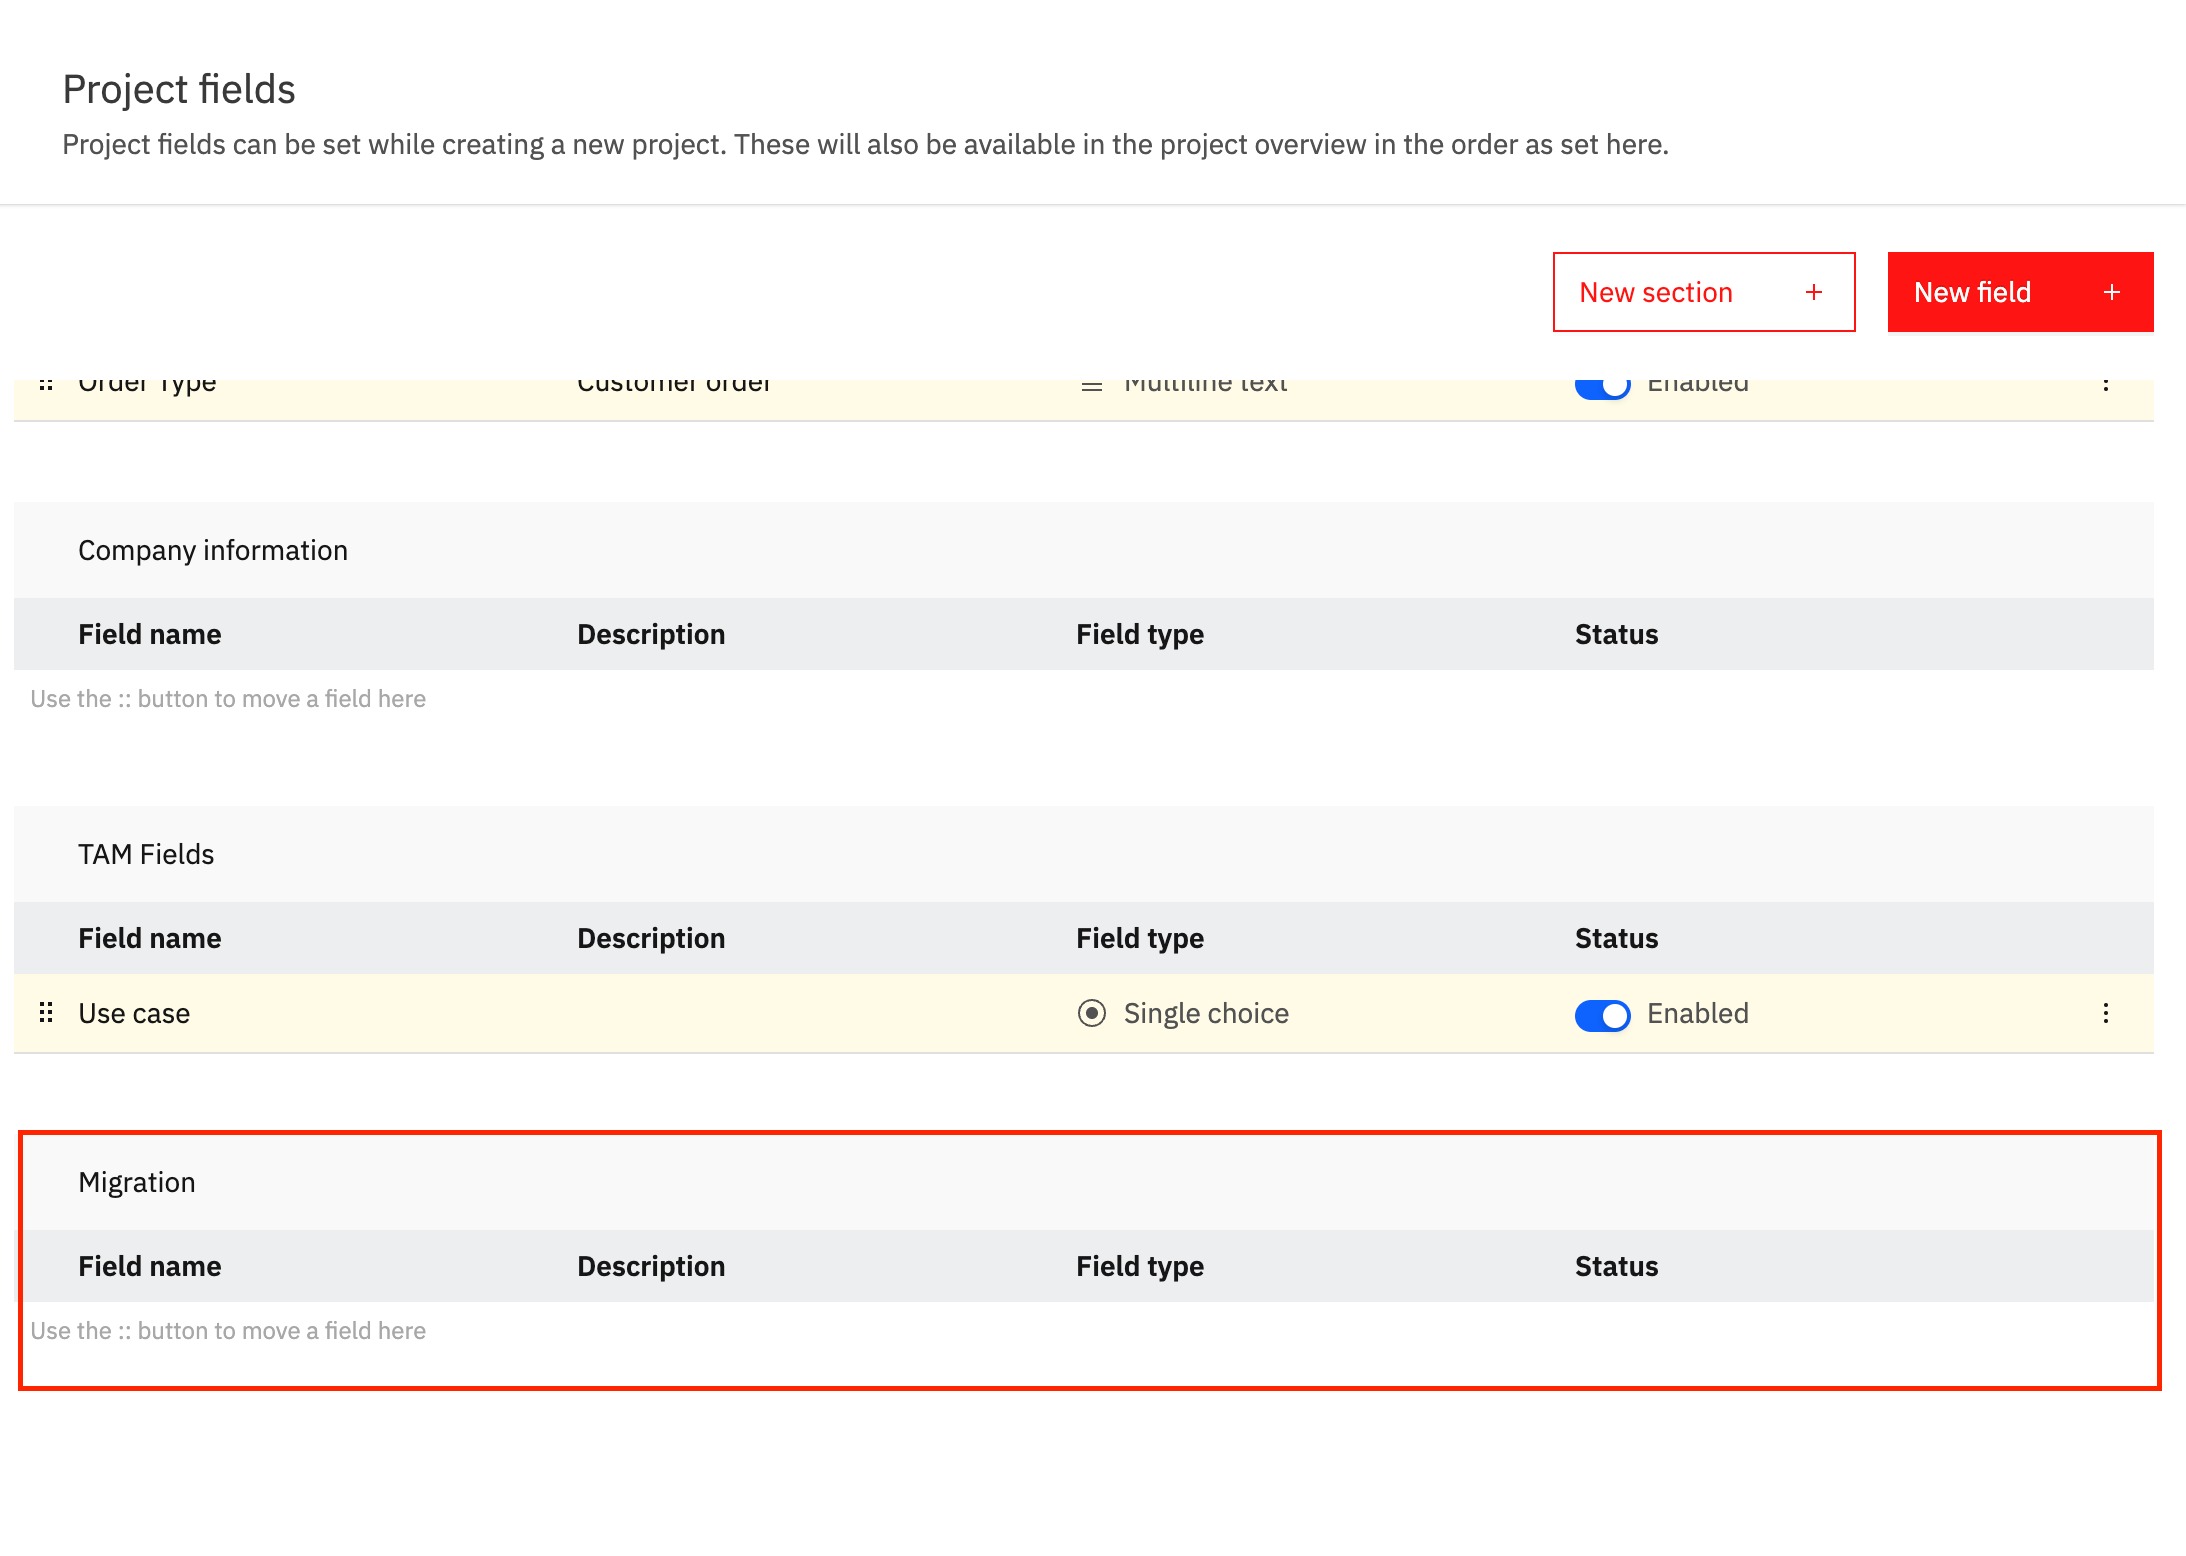
- To rearrange the sections, hover over a section header, click the menu icon, and select Rearrange Sections. Changes made to the order will apply universally wherever the fields are displayed.
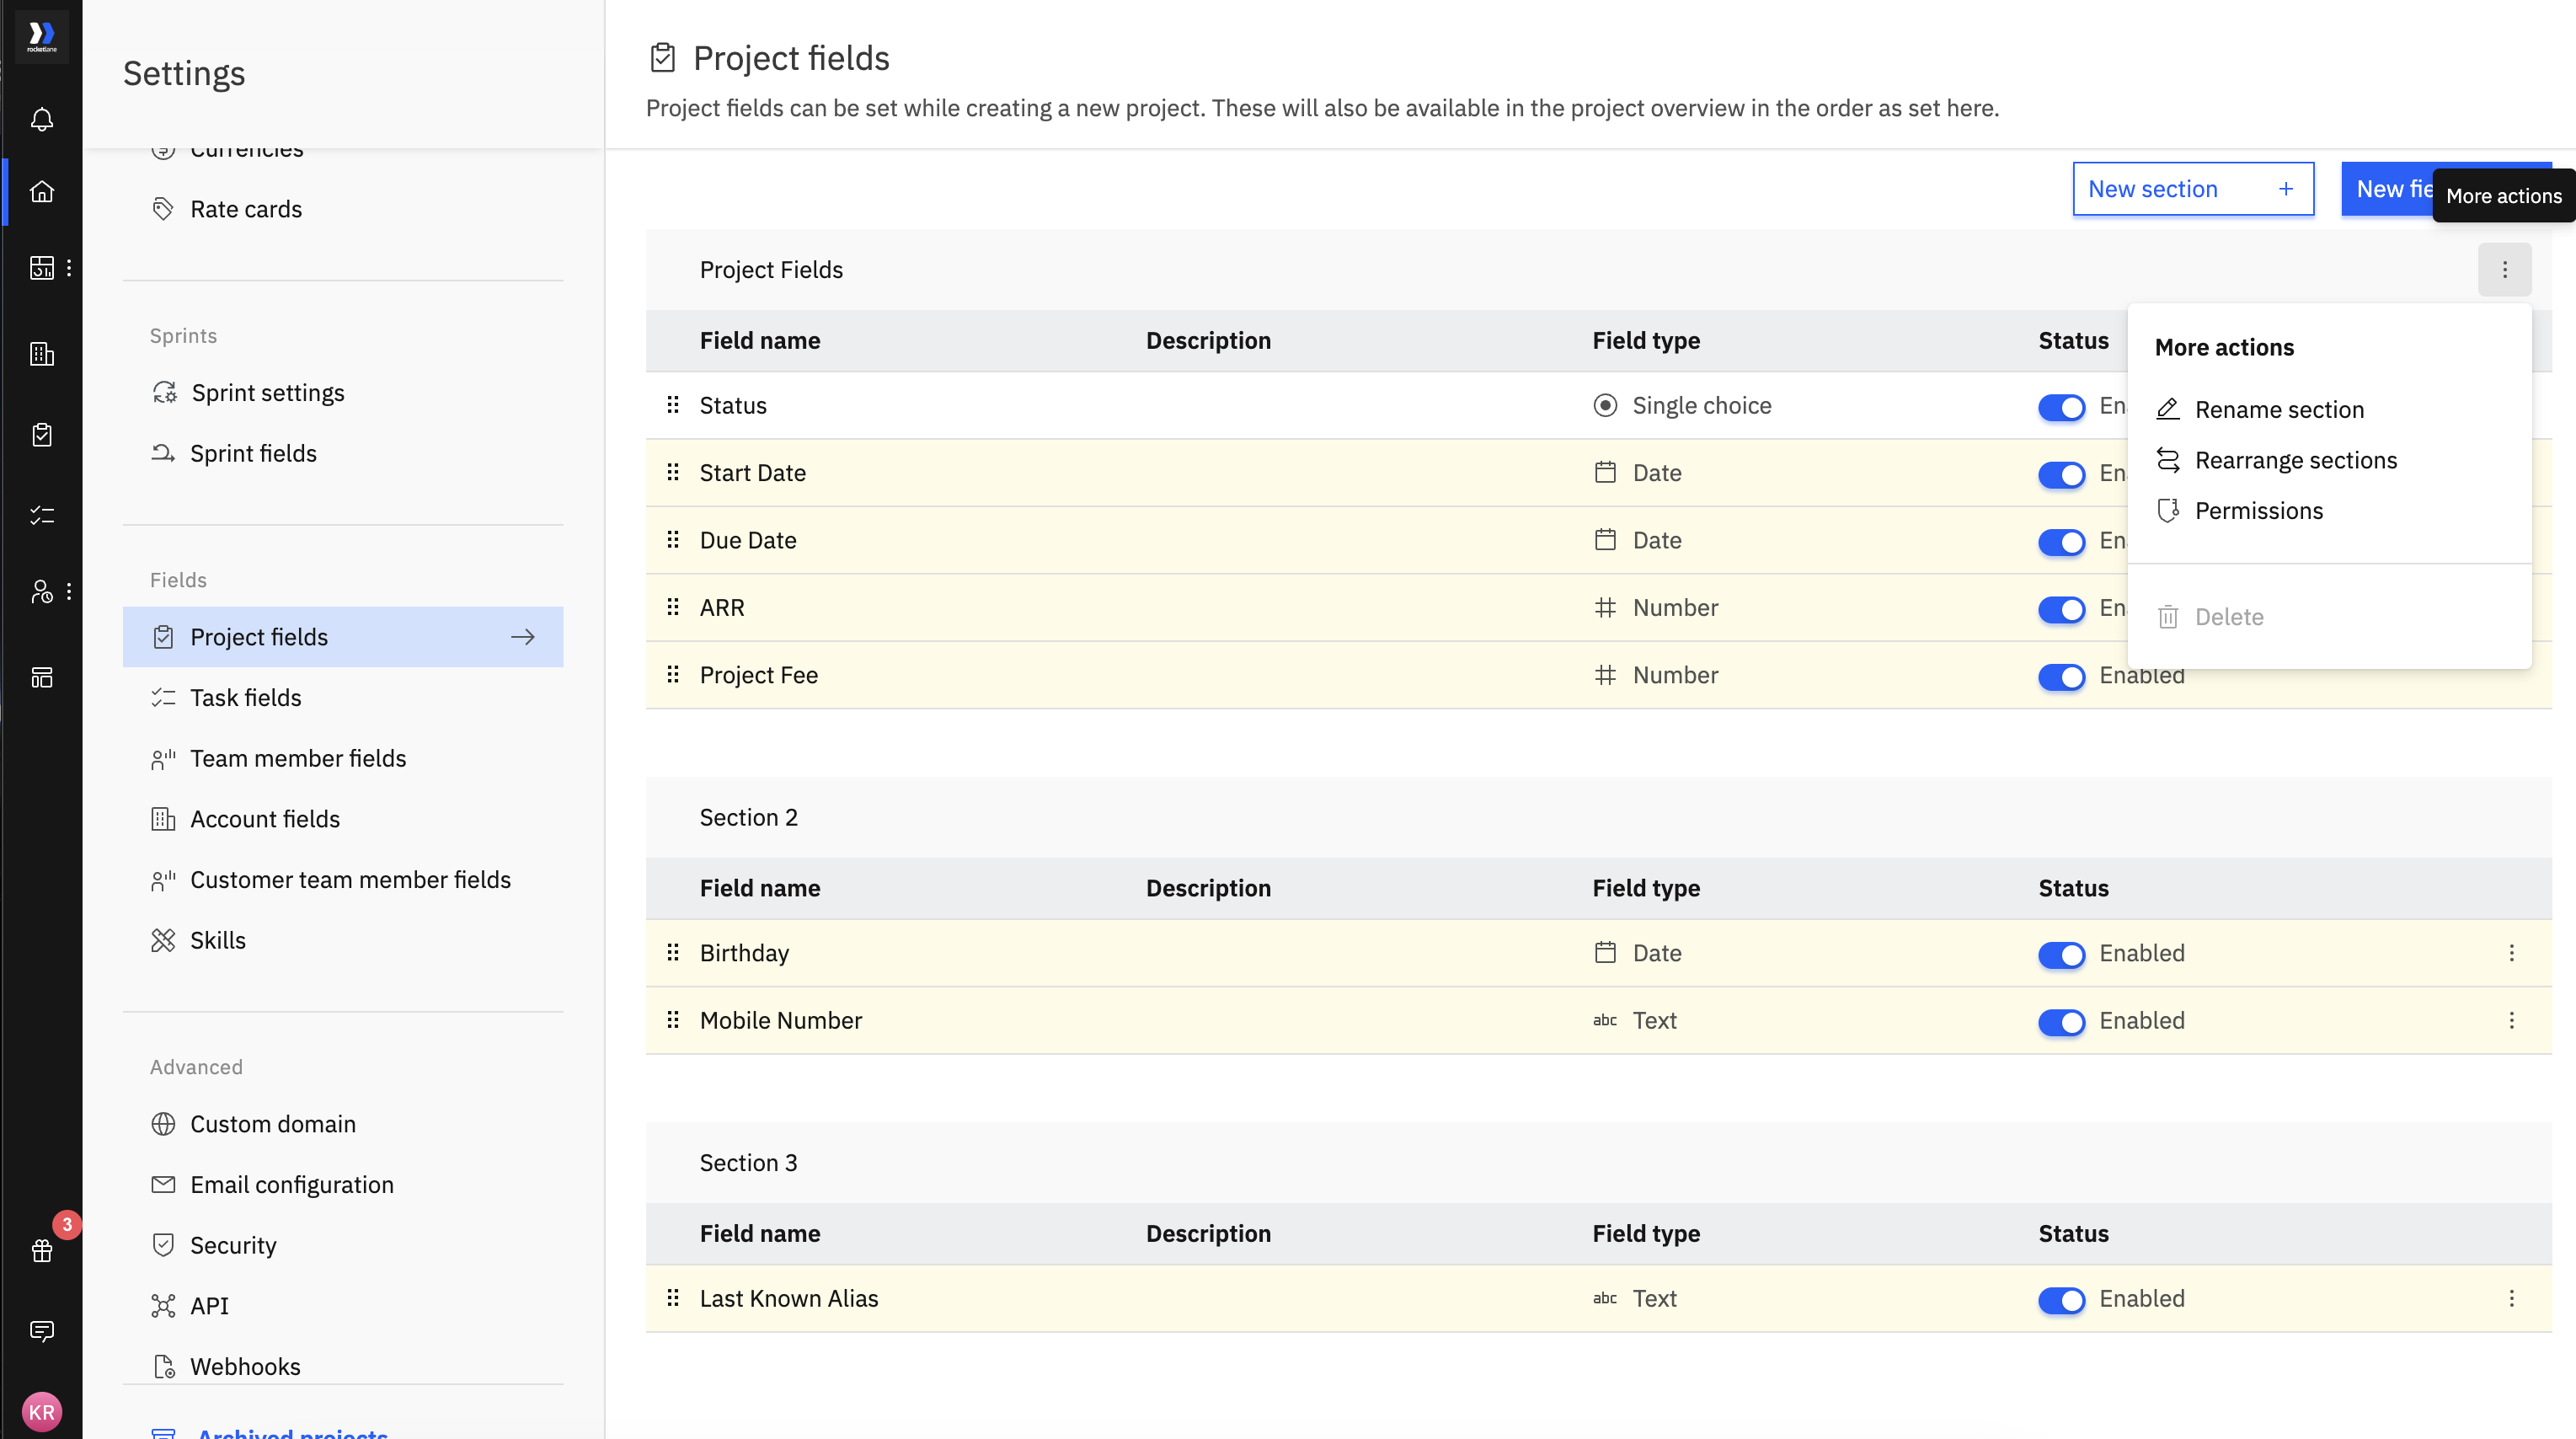
NoteDefault sections cannot be rearranged. This feature is available for project fields, task fields, user member fields, and account fields. Only admins can rearrange sections.
How to add a new Project Field in Your Rocketlane Account
- Click the New field icon from the top-right side of the screen.

- From the New project field dialog box, add a field name, choose the field type and section, and add a description if needed. The description will show as a tooltip. Click Save after adding the details for the new project field.

The field type options available are:
- Text
- Multiline Text
- Number
- Yes/No
- Date
- Single Choice
- Multiple Choice, you will be given the option to add choices from the New project field dialog box.
- Single User
- Multiple User, you can add team members added to your account.